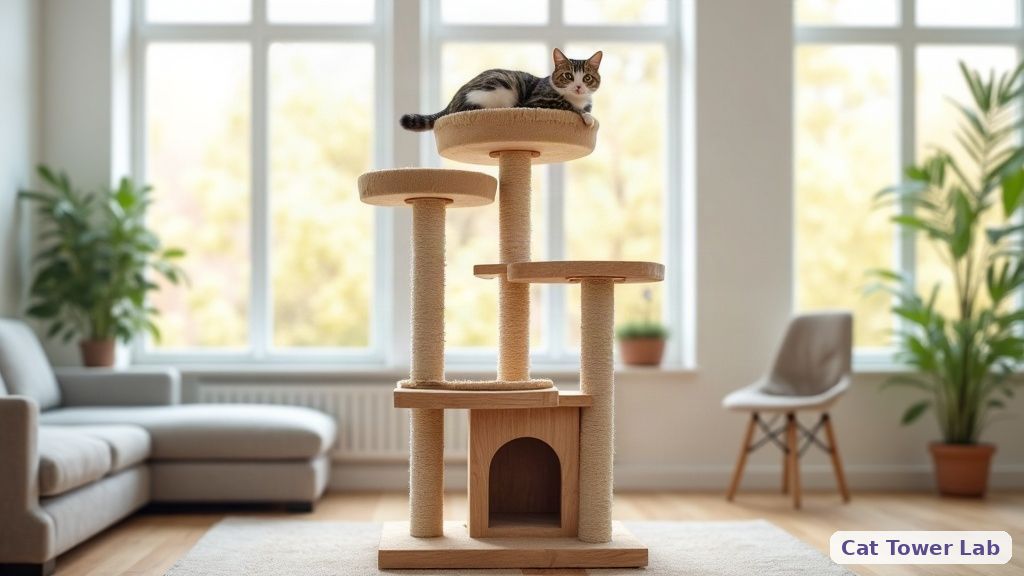
How to Assemble a Cat Tree: A Stress-Free Step-by-Step (2026)
As an Amazon Associate I earn from qualifying purchases. Product details may change; verify on Amazon before purchase.
🔍 How this guide was put together (Editorial Standards)
This guide compares options using published manufacturer specifications, patterns in publicly visible owner reviews, and reputable expert sources. We do not operate a physical testing lab; see our how-we-research page for details.
| Rank | Product | Name | Why we picked it | Buy |
|---|---|---|---|---|
| Top pick | 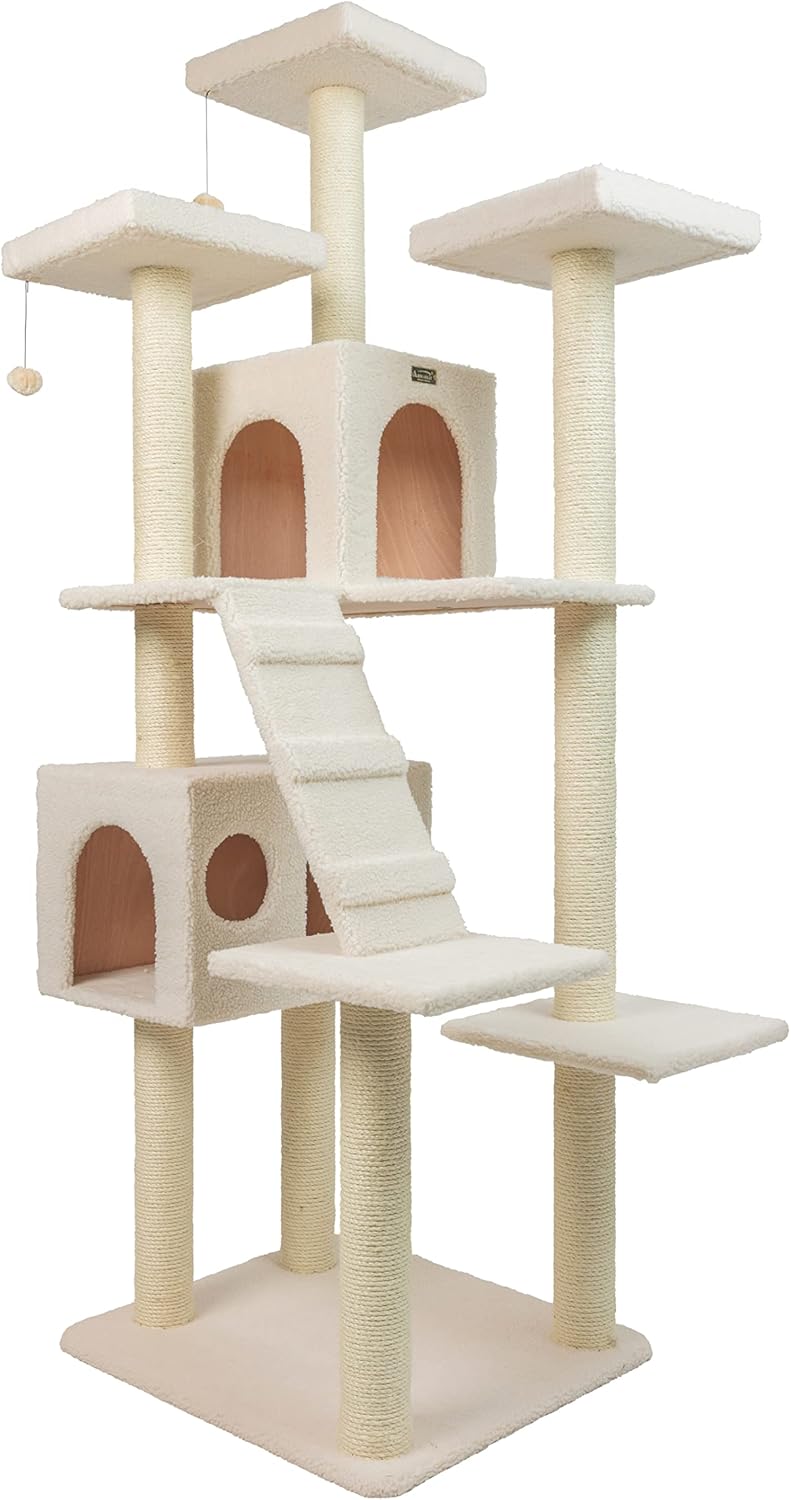 | Armarkat B7701 Real Wood Cat Tree (straightforward assembly) | Check price |
A cat tree lives or dies by its assembly. The exact same tree can end up rock-solid or annoyingly wobbly depending on whether it was put together correctly — and most “this tree wobbles” complaints are really assembly shortcuts, not bad products. The good news: it’s easy if you go in the right order and get the bolts genuinely tight. Here’s how to assemble one so it’s stable the first time.
Before you start: set yourself up
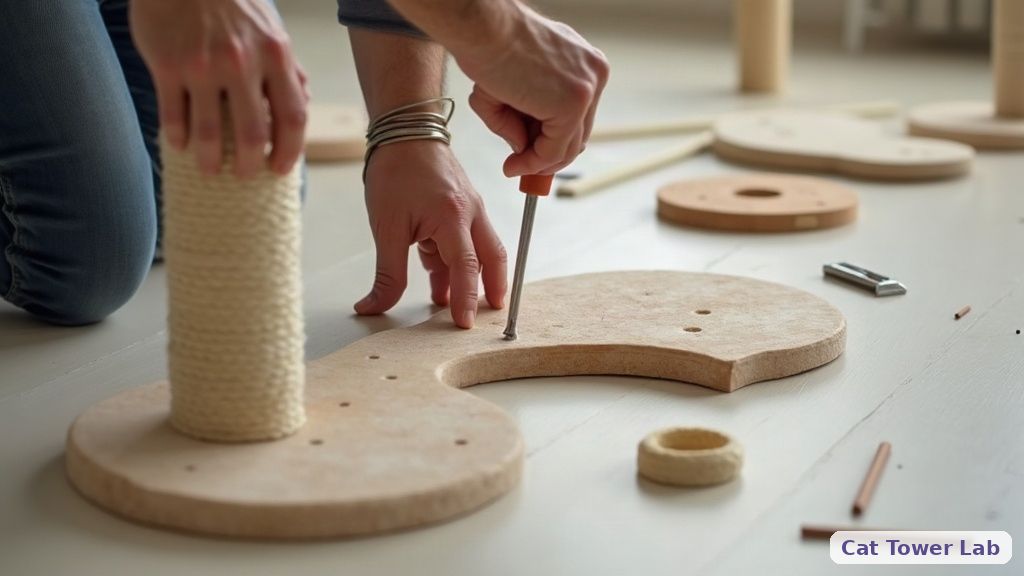
- Lay out all parts and hardware and check them against the manual’s parts list before you begin.
- Work on the final floor type if you can (carpet vs hard floor changes stability).
- Have the right tool — usually just an Allen key (often included) or a screwdriver; a hand screwdriver gives better feel for tightness than a power drill (which can strip or over-drive).
- Give yourself 20–30 minutes and don’t rush the base.
Assembly, step by step
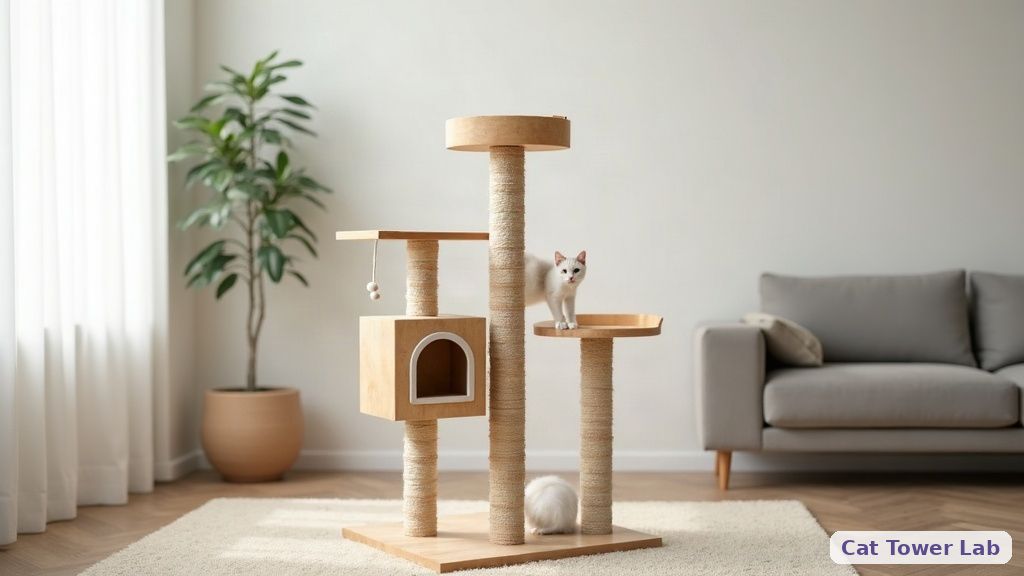
- Start with the base — it’s the foundation of all stability. Get it flat and the first posts bolted firmly into it.
- Build upward, bottom to top, adding posts then perches/condos in the manual’s order.
- Keep bolts finger-tight as you go, then fully tighten at the end — this lets parts align before you lock them, avoiding a leaning tower.
- Do a final tightness pass on every bolt — this is the step people skip, and it’s the #1 cause of wobble.
- Anchor tall trees to the wall if the model includes a strap or bracket (how to secure to a wall).
Choosing a well-designed tree with a wide base (like the real-wood Armarkat B7701) makes solid assembly far easier — see our materials guide.
Why is my cat tree wobbly after assembly?
Almost always loose bolts or an uneven base. Do a final tightness pass on every bolt (the step most people skip), make sure the base sits flat, and check you didn’t miss a washer. If it’s still wobbly, the base may be too narrow for the height — see sturdiest cat trees.
How long does it take to assemble a cat tree?
Usually 20–30 minutes for a standard tree, longer for tall multi-level ones. Don’t rush the base — spending an extra few minutes getting it flat and tight there saves you a wobbly tree. Most use a single included tool.
Do I need special tools to assemble a cat tree?
Rarely — most include the Allen key you need, and a screwdriver covers the rest. A hand tool beats a power drill for getting the feel of “tight but not stripped.” Keep the spare hardware in case you need to re-tighten later.
How do I keep a cat tree from tipping over?
Wide, flat base + fully tightened bolts + wall-anchoring for tall models. Place heavier condos low, and if the model has an anti-tip strap, use it. Full method in how to secure a cat tree to a wall.
Built solid, first try
Lay out parts, start with a flat base, build bottom-to-top keeping bolts finger-tight, then do a final full-tighten pass on every bolt — that last step is what separates a rock-solid tree from a wobbly one. Anchor tall models. Do it right once and your cat gets a tree it trusts to climb. New to buying? Avoid the common buying mistakes first.