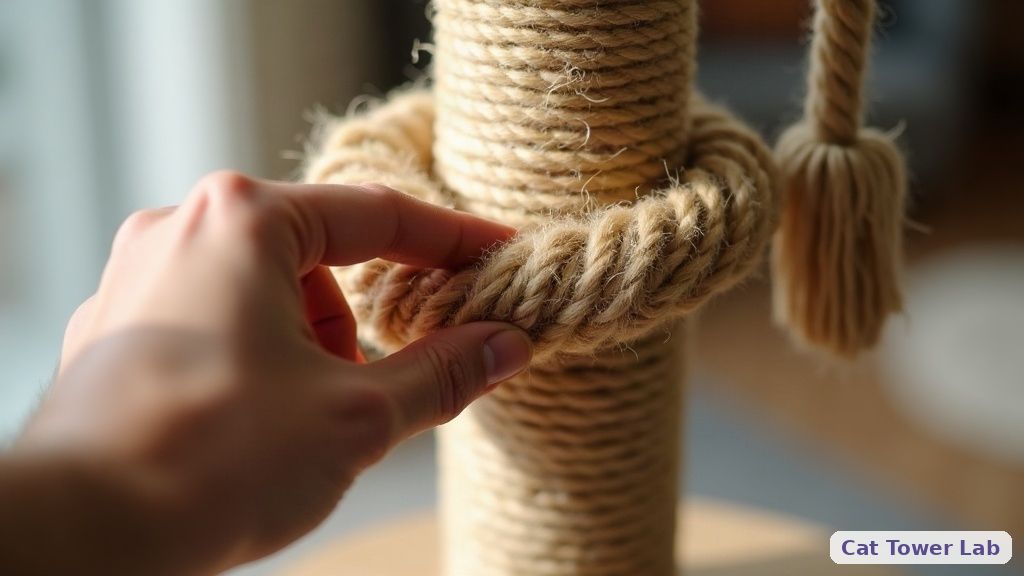
How to Assemble a Cat Tree Alone (One Person)
As an Amazon Associate I earn from qualifying purchases. Product details may change; verify on Amazon before purchase.
🔍 How this guide was put together (Editorial Standards)
This guide compares options using published manufacturer specifications, patterns in publicly visible owner reviews, and reputable expert sources. We do not operate a physical testing lab; see our how-we-research page for details.
📑 Table of contents
Cat tree instructions assume you have four hands: two to hold the post vertical while two more attach the platform. Most of us don’t. Here’s how to assemble a cat tree solo—including the tall, heavy ones that really need two people.
Before You Start
Clear the area. You need at least 6 feet of clear floor space around your assembly zone. Move furniture—you’ll be flipping and rotating the tree multiple times.
Stage all parts. Open every bag, remove all components, and group by type:
- Posts (long tubes wrapped in sisal or carpet)
- Platforms/perches (flat pieces)
- Hardware (screws, bolts, washers—sort by size)
- Tools (usually one Allen key; have a Phillips screwdriver ready)
Read the instructions. Yes, even if you don’t follow them exactly. Identify which connections are bolt-through (you screw from one side, tighten from other) vs. screw-in (single piece threads into wood). This determines where you’ll need gravity on your side.
✅
The key insightAssemble flat whenever possible. Build sections while the tree is lying on its side, then stand up only when necessary. Gravity fights you vertically; it helps you horizontally.
Step-by-Step Solo Assembly
Phase 1: Build the Base Section (Horizontal)
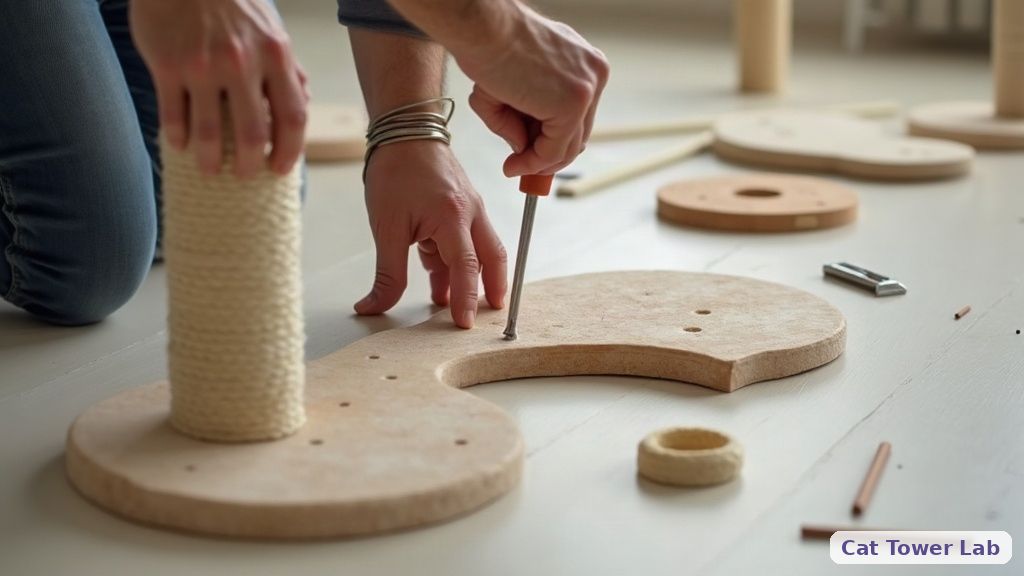
- Lay the base platform upside-down on the floor
- Attach the first post(s) to the bottom of the base—screws go up through the base into the post
- Hand-tighten only at this stage (final tightening comes later)
- If there are multiple base posts, attach all of them before moving on
Why this works: With the base upside-down, gravity holds the posts pointing up. You have both hands free to drive screws.
Phase 2: Add Middle Platforms (Still Horizontal)
- Keep the tree on its side (base vertical, posts horizontal)
- Attach the next platform to the exposed post ends
- If the platform connects to multiple posts, attach the center post first, then work outward
- Add the next set of posts to this new platform
Positioning tip: Wedge the base against a wall or heavy furniture so the tree doesn’t roll while you work.
Phase 3: Stand and Stabilize (The Tricky Part)
This is where solo assembly gets hard. You need to flip a partially-built tree upright without it toppling.
Method A: The Wall Lean
- Position the base near a wall (2” gap)
- Lift the top end while keeping the base planted
- Walk your hands down the posts as you raise it
- Let the top lean against the wall for support
- Attach the wall-facing posts first (tree is held by wall)
- Finish remaining connections
Method B: The Corner Wedge
- Push the base into a corner
- Stand the tree up so it’s supported by two walls
- It can’t fall in any direction—you have both hands free
- Complete all remaining attachments
Method C: Temporary Strap (for very tall trees)
- Before standing up, loop a ratchet strap or belt around the top post
- Stand the tree up and hook the strap over a door handle, curtain rod, or ceiling hook
- The strap holds it vertical while you work
- Remove strap after final tightening
Phase 4: Final Tightening (Critical)
Go back to every connection and tighten fully. The assembly order:
- Base-to-first-post connections
- All platform connections (bottom to top)
- Any top perch or crown piece
Do the wobble test: Push firmly at the highest point. If it wobbles, something is loose—find it. See our how to fix a wobbly cat tree guide for diagnosing stability issues.
Tips for Specific Problem Scenarios
Bolt-Through Connections (Worst for Solo)
These have a screw on one side and a nut on the other. You need to hold the nut while turning the bolt.
Solution:
- Tape the nut in position using painter’s tape
- Start the bolt until it catches the nut threads
- Once engaged, remove tape and tighten normally
Posts That Won’t Stay Vertical
Some designs require you to hold a post perfectly upright while attaching from below.
Solution:
- Lean post against wall at exactly 90°
- Use a piece of furniture (couch arm, chair back) to prop it
- Or: skip ahead, attach the next platform loosely, then go back and tighten the post base
Heavy Condo Boxes
Enclosed condo sections are awkward because of the weight and shape.
Solution:
- Attach condo to post while post is horizontal
- Stand up the whole post+condo unit together
- Recruit your cat to supervise (they’re going to anyway)
Common Solo Assembly Mistakes
| Mistake | Why It Happens | Fix |
|---|---|---|
| Tightening too early | Following instructions exactly | Hand-tight until everything’s attached |
| Wrong post position | Posts look similar but aren’t | Check diameters—thicker posts are usually base |
| Missing washers | Fell out of bag unnoticed | Use all hardware provided; run fingers through bag |
| Stripping screws | Forcing misaligned threads | Back off, realign, try again |
| Carpet caught under bolts | Attached while carpet was bunched | Flatten carpet before driving screw |
Estimated Assembly Time (Solo)
| Tree Height | Complexity | Solo Time |
|---|---|---|
| Under 40” | Simple (3-4 levels) | 20-30 min |
| 40-60” | Moderate (5-6 levels) | 45-60 min |
| 60-80” | Complex (many platforms) | 1-2 hours |
| Floor-to-ceiling | Tension-mounted | 2+ hours |
Add 30% if it’s your first cat tree or if instructions are poor quality (common with budget imports).
After Assembly: Stability Check
Per the Consumer Product Safety Commission, furniture tip-overs cause thousands of injuries annually. For cat trees over 60”:
- Push firmly at the top in all directions
- Minimal movement is OK; visible wobble is not
- Wall-anchor any tree that wobbles or is over 60” tall
See our how to secure a cat tree to the wall guide for anchoring methods.
FAQ
The instructions are just pictures—help! Common with imported trees. Look for step numbers in images. Lay out all parts first so you can match shapes to pictures. If truly lost, search YouTube for your tree’s brand + “assembly.”
I stripped a screw hole—now what? Fill with toothpicks + wood glue, wait an hour, reinsert screw. See detailed instructions in our wobbly tree guide.
How do I get my cat to stay away during assembly? You don’t. Accept that they’ll sit inside partially-built condos, attack the Allen key, and judge your technique. Budget an extra 15 minutes for cat interference.
Can I leave it partially assembled overnight? Yes, but make sure it’s stable enough not to fall if bumped. Lay horizontal if in doubt.
Related: How to Fix a Wobbly Cat Tree · How to Secure Cat Tree to Wall